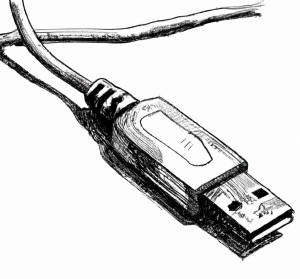
Recently, I needed to access a Linux device without a serial port via a serial console. One way to set this up is by adding console=ttyUSB0,115200 (assuming 115200 bps) to the kernel parameters. If you are using an ostree based system you can do:
rpm-ostree kargs --append=console=ttyUSB0,115200
Then, once the Linux kernel discovers ttyUSB0 during the boot process, the buffer will be drained down through the virtual serial port.
In addition, you can enable the serial-getty@ttyUSB0 virtual service. i.e., by running:
systemctl enable --now serial-getty@ttyUSB0
For this I am still hitting an issue where SELinux is unhappy about agetty accessing ttyUSB0
Secure Boot is a feature of the UEFI (Unified Extensible Firmware Interface) specification that ensures that each software used in the boot process is signed with a key that’s recognized by the system’s firmware (the UEFI BIOS). The purpose is to protect the boot process against bootkit attacks that could inject malicious code.
When the system starts up, the firmware checks the signature of each piece of boot software, including the bootloader. If any software isn’t correctly signed with a trusted key, the firmware doesn’t allow the system to boot.
In Linux, the bootloader (i.e., GRUB2) loads the kernel, which again checks the signature to make sure it’s valid. This can also extend to kernel modules via a Linux kernel feature called module signature verification. When this feature is enabled (CONFIG_MODULE_SIG), the kernel checks the signature of each module before it loads the module. If a module’s signature is invalid or if it’s unsigned, the kernel refuses to load the module.
This only provides security if Secure Boot is enabled.
The effectiveness of this entire process depends on the management and protection of the cryptographic keys used to sign the bootloader, kernel, and kernel modules. The private keys used to sign these components must be stored securely to prevent unauthorized access, and the public keys must be correctly installed in the firmware and/or the kernel keyring to allow signature verification to be carried out. If these keys are mishandled, the security of the boot process can be compromised.
Signing kernel modules
To sign a Linux kernel module, you’ll need to generate a signing key pair and then use that key pair to sign the module, so you should first:
Generate a key pair (or use one you have already registered with MOK)
This signs the module at path/to/module.ko using the private key in ./MOK.priv and the public key in ./MOK.der, with SHA-512 as the hash algorithm.
Please note that the signature is appended to the binary file; it’s not an ELF section. Using strip on the .ko would remove the signature.
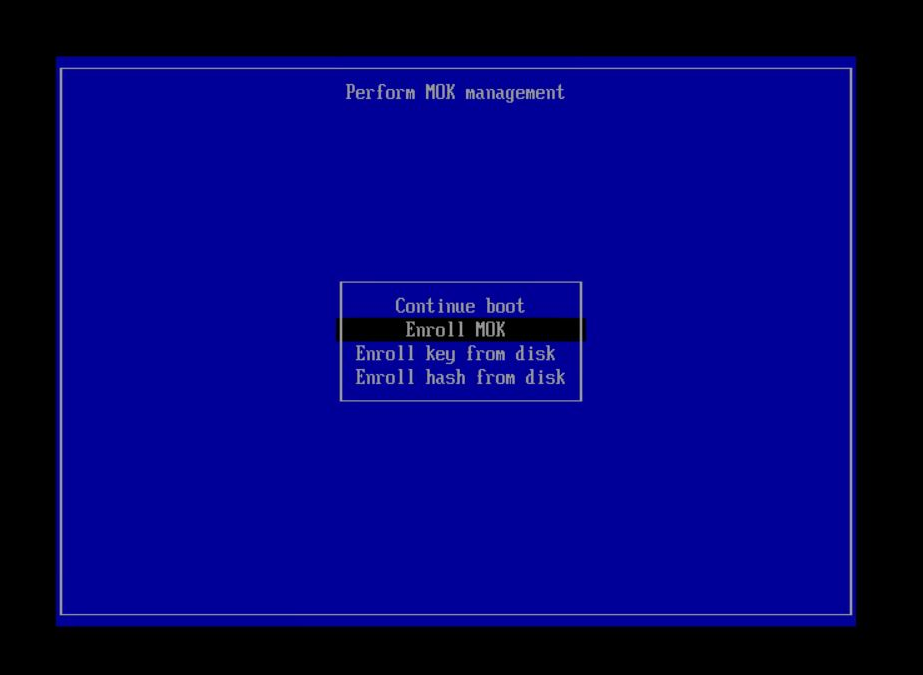
Enrolling MOKs (Machine Owner Keys)
Before the kernel accepts a signed module, we need to enroll the public key into the Machine Owner Key (MOK) list. This can be done using the mokutil command:
mokutil --import MOK.der
This will prompt you to enter a password, which will be required to complete the enrollment process on the next reboot.
After reboot, once the key is installed, you can list it via:
mokutil -l
You can verify the keys being loaded also by looking at the kernel output:
Last Tuesday, we presented “From Micro to Mighty: A Guide to Customizing Edge Devices using Red Hat Device Edge” at OpenShift Commons.
I love to run live demos, especially for Edge deployments that you can carry around and not depend on the conference network; it’s sometimes risky, and things can go south, but this time again, everything was right.
In this presentation, we went over the process of creating custom ostree repositories and images to deploy into your device from a simple USB stick, thanks to ImageBuilder and osbuild.
In our image, we include MicroShift, part of the Red Hat Device Edge offering, and the manifests for the demo application (more details on the demo application can be found here).
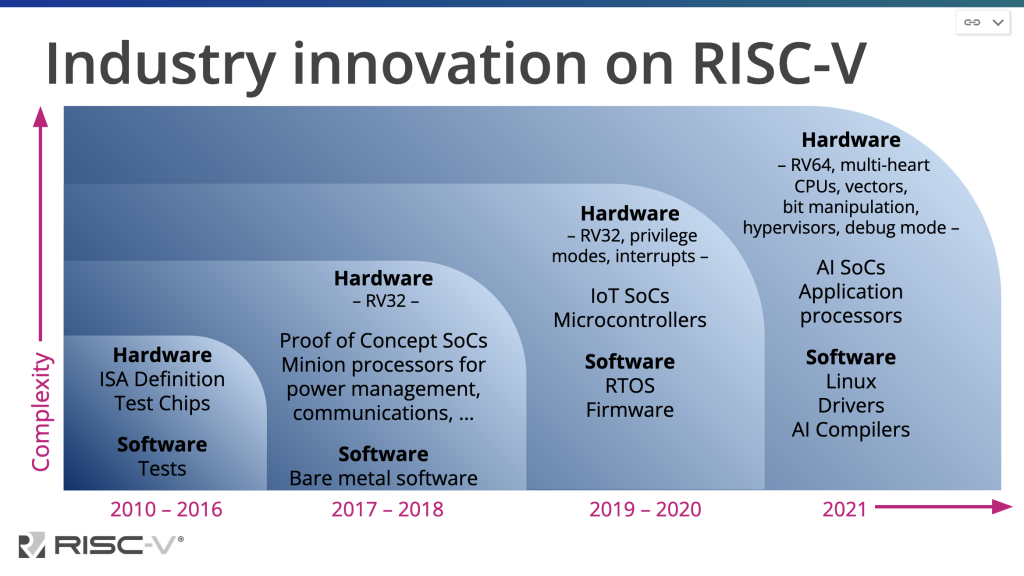
In the following posts, I will document the environment preparation for working with the RISC-V architecture from the RISC-V association. RISC-V is an open ISA, applying that any vendor can implement.
As the industry is waking up around this architecture, I thought it was a good opportunity to get familiar with it; hopefully, the OpenSource principles will help this architecture thrive.
First things first, we need a compiler and toolchain, and for the lack of hardware a simulator. Installing the RISC-V toolchain in brew will help us with that, for OSX we can use the brew tap for the RISC-V to make things easier:
$ brew tap riscv-software-src/riscv
$ brew install riscv-tools
Last January, with my colleague Ricardo Noriega, we presented how a compact OpenShift distribution like MicroShift could leverage AI models at the Edge.